
How to pack your kitchen before moving
Table Of Contents

Knowing how to pack your kitchen before moving is important. Your kitchen is often the heart of your home, filled with fragile glassware, valuable appliances, and cherished dishware. Safeguarding these items can make a world of difference. Partner with Lippincott Van Lines to ensure you get the job done correctly and with ease.
Get organized before the big move
Before you begin packing, taking time to declutter and organize your kitchen can save you time and stress. Why cart around items you don’t need or haven’t used in years? Start by sorting through your kitchen items and eliminate those you don’t use. Donate unused appliances, recycle tired cookware, and toss out expired pantry goods. Doing so lets you lighten your load and make room for new kitchen adventures in your next home. Once you have a clear picture of how much work you still have to do, then you can think about whether to pay or not to pay for packing and hire professional packing services.
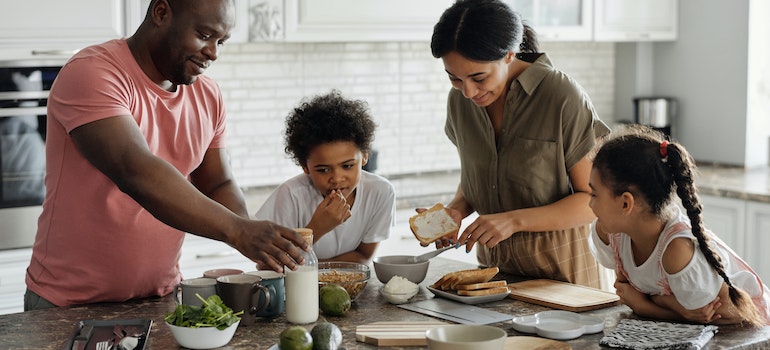
Organizing your kitchen items into categories can also prove helpful. Group similar items like cookware, utensils, and bakeware together. This way, you’ll know exactly where to find what you’re looking for when unpacking in your new kitchen. This organization also helps your residential movers place boxes right after the move.
Additionally, making an inventory list can be a game changer. As you go through your kitchen items, jot down what you have. This list can be a simple notebook entry or a detailed spreadsheet. The benefit of having an inventory is twofold: you can easily track your belongings, and it serves as a quick reference when unpacking or searching for a specific kitchen gadget among your boxes.
Kitchen packing supplies checklist
Get your supplies ready. It sounds simple, but it saves a lot of stopping, searching, and re-taping halfway through. What do you actually need? More than just boxes.
Start with:
- small and medium moving boxes
- heavy-duty tape
- packing paper
- bubble wrap or foam sheets
- permanent markers
- clear labels
Small boxes are best for heavier kitchen items like
- canned goods
- plates
- cookware
Medium boxes work well for lighter items such as
- plastic containers
- bakeware
- small appliances
For fragile pieces, consider:
- dish boxes
- glassware dividers
- cell kits
These give plates, mugs, wine glasses, and delicate dishware extra protection during the move. Worth it? Absolutely.
You can also use items you already have. Dish towels, oven mitts, tablecloths, and soft linens can add cushioning without wasting space. Just avoid weak boxes or oversized boxes packed with heavy kitchen items. That’s how breaks happen.
How many boxes do you need to pack a kitchen?
So, how many boxes will your kitchen need? It depends on the size of the kitchen, but it is usually more than people expect.
For a small kitchen or apartment, plan for a few dish boxes, several small boxes for pantry items, 1 or 2 medium boxes for cookware, and 1 essentials box. A medium kitchen may need separate boxes for dishes and glasses, pots and pans, pantry goods, small appliances, bakeware, and serving pieces.
Have a large family kitchen? You will want to avoid moving day pitfalls. Add more dish boxes, extra boxes for appliances and gadgets, and specialty boxes for china, stemware, or other fragile pieces. Long-distance moves may also require more padding and backup supplies. Small and medium boxes usually work best. Why? They:
- keep heavy kitchen items manageable
- protect fragile pieces
- make loading easier
- reduce the chance of a box giving out mid-move
Create a kitchen packing timeline before moving day
Packing your whole kitchen in 1 day? Possible. Pleasant? Not really. A simple timeline makes the process much easier.
- About 2 weeks before moving, start with the things you rarely use. Pack seasonal dishware, serving platters, extra mugs and glasses, cookbooks, and kitchen gadgets that mostly sit in the cabinet. This is also a good time to start using up pantry and freezer items.
- 1 week before moving, move on to bakeware, extra pots and pans, duplicate utensils, and most of your dishes and glassware. Keep only what you need for simple meals.
- About 2 days before moving, prepare your essentials box, clean small appliances, pack most remaining cookware, and sort through refrigerator and freezer items.
- On moving day, leave only the basics: coffee maker, snacks, water, paper towels, dish soap, and a few must-have utensils. Then do one final cabinet, drawer, and pantry check.
Pack an essentials box
When preparing for a move, strategy is key. Packing an ‘essentials box’ is a smart strategy to simplify your move. This box should contain items you’ll need immediately upon arriving at your new home. Include items like a couple of plates, some utensils, a pot or a pan, essential cooking ingredients, and your coffee maker. After the move with your local movers, having easy access to these essentials can be a relief, ensuring you’re not rummaging through boxes for a cup or a spoon.
Now, let’s talk about non-essential items. Packing these items first can significantly simplify the moving process. Since you won’t need these items immediately, pack them up and get them out of the way. Think about:
- Seasonal items
- Rarely used gadgets
- Special-occasion dishware
If you’re short on space and moving to Winsted, for instance, storage units in Winsted CT are available to keep these less frequently used items safe until you need them. Preparing non-essentials first will reduce clutter and make focusing on what truly matters easier.
Moreover, tackling non-essential items first can make the packing process feel less overwhelming. You’ll notice your progress as your kitchen starts to empty, and by the time you get to the essential items, you’ll be a packing pro.
How to pack pantry items, food, and liquids?
Food can be tricky to move. Some items are easy. Others? Not worth the risks of DIY moving. Before packing, sort through your pantry and toss anything expired. Donate unopened non-perishables you will not use, and avoid moving food just because it is there.
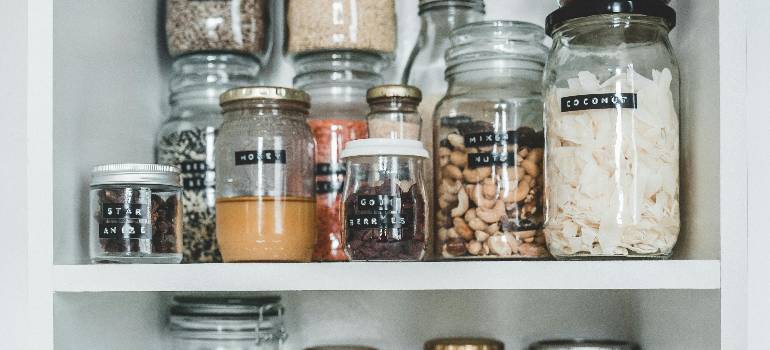
- For dry goods, seal open bags tightly and place loose items like rice, pasta, flour, or snacks in zip-top bags.
- Keep spices together so they are easy to find later, and use small or medium boxes to prevent pantry boxes from getting too heavy.
- Liquids need extra care. Tighten lids, wrap oils, sauces, and condiments separately, and keep bottles upright. Do not pack them near appliances, electronics, or fragile dishware. This is especially important if you need to pack appliances for a long distance move.
- For refrigerated and frozen food, plan ahead. Use coolers only for very short local moves.
- Perishables, leaking containers, frozen food for long-distance moves, and anything likely to spoil or attract pests should stay off the moving truck.
How to pack knives and sharp kitchen tools safely?
Sharp kitchen tools need their own plan. Why? Because one loose knife in a box can turn unpacking into a problem fast. Start with loose kitchen knives. Wrap each blade individually using packing paper, cardboard, towels, or knife guards, then secure the wrapping with tape. Once covered, place the knives in a small, sturdy box so they cannot shift around.
If you have a knife block, keep the knives secured inside if possible. Wrap the entire block well, add cushioning around it, and keep it upright during the move. Do not forget the other sharp items hiding in your drawers. Graters, peelers, mandolines, skewers, kitchen scissors, and food processor blades should all be wrapped carefully. Label the box clearly as “Sharp Kitchen Tools.” Simple. Keep it away from children and pets, and avoid mixing sharp tools with fragile dishes or glassware.
Tips for packing fragile kitchen items
Packing fragile items can often be the most nerve-wracking part of knowing how to pack your kitchen before moving. Dishes, glasses, and ceramics are more than just objects; they often hold sentimental value. But with the right approach and materials, you can ensure they arrive at your new home in one piece.
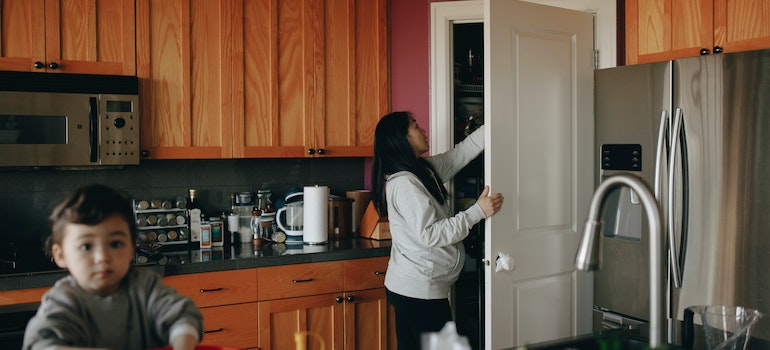
Quality packing material is your first line of defense against breakage. Opt for sturdy boxes and cushioning material like bubble wrap or packing paper. You can even use towels or clothes as extra padding. While it might be tempting to skimp on these supplies, investing in good-quality materials can significantly improve the safety of your fragile items.
When it comes to stacking, the solution is balance and cushioning. Consider placing dishes vertically in boxes, separated by layers of bubble wrap or cardboard. Glasses and cups can be packed in individual cells, and fragile ceramic items should be wrapped securely and placed in boxes with plenty of padding at the bottom. In other words, don’t let fragile items touch each other or the sides of the box. And if packing these valuable items feels daunting, don’t hesitate to seek professional help. You can look for packing services and ensure the job gets done right.
Additionally, remember to label boxes containing fragile items. This way, whoever handles them—be it you, a family member, or a mover—will know to exercise extra caution.
How to pack pots, pans, and small appliances
Regarding moving, kitchen appliances and cookware might not be as delicate as dishes or glasses, but they still require thoughtful packing. After all, a dent in a pot or a broken blender can disrupt your cooking routine in your new home. For starters, let’s talk about pots and pans. One efficient method is the nesting technique. Place smaller pots into larger ones and separate them with a layer of packing paper or bubble wrap to prevent scratching. But don’t make the boxes too heavy—balance is important.
Next, focus on small kitchen appliances like toasters, blenders, and coffee makers. Begin by cleaning them thoroughly to avoid transporting crumbs or residue. Once they’re clean, it’s time to secure any loose or removable parts. If your blender has a detachable blade, wrap it separately and place it inside the jar. Use tape to keep cords neatly coiled and secure, but remember the tape on the device in a way that won’t leave a sticky residue.
Also, you can use original appliance boxes if you still have them; they’re the perfect size and often come with molded styrofoam that provides added protection. If you don’t have the original boxes, any sturdy box will do—just add extra padding. Finally, keep track of all screws, knobs, and other small removable parts by placing them in a zip-top bag and taping the bag to the appliance it belongs to. This little tip can save you much time and frustration when setting up your new kitchen.

Ready to make your move? Start and pack your kitchen before moving!
We’ve walked you through the must-knows of how to pack your kitchen before moving. The key is in the details, from choosing the right materials to carefully wrapping each item. We know it’s a lot to consider, but with the right approach and a bit of planning, you can make this move a memorable and positive experience. So, don’t let the process intimidate you. It’s completely doable, and the effort you put in now will pay off when setting up your new kitchen without a hitch.
Free Moving Quote
"*" indicates required fields
Client’s Testimonials
Lippincott Van Lines team was efficient and professional from start to finish! Made our move stress-free and handled our belongings with the utmost care. I’d definitely recommend them to everyone looking for great movers in CT!
Mark Davis

from North Haven


